Verify Emails in Go Highlevel using Clearout
Prevent invalid and spammy emails from entering your CRM using Clearout's real-time email validation. Keep your contact list clean and improve Go HighLevel email deliverability.
How to Verify Emails in Go HighLevel in 4 Steps
1. Connect account
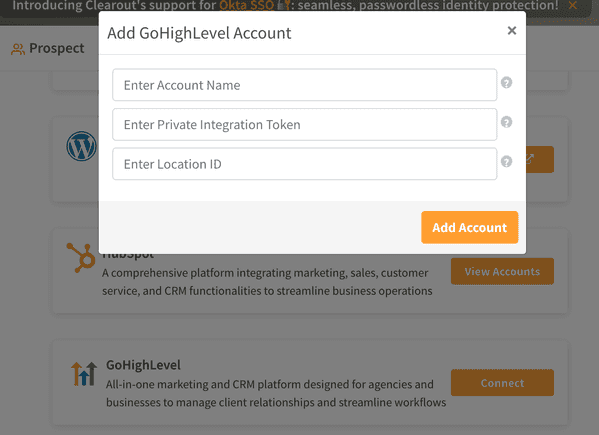
After logging in to your Clearout account, go to the Integration page and select GHL. Click on "Private Integration Key, Location ID and Account Name.
Here's how you can retrieve these details from your GHL account:
- To integrate Clearout with GHL, you'll need the Private Integration Token and Location ID:
- Go to Settings inside the sub-account -> Other Settings-> Private Integrations -> Create New Integration.
- Use the generated key for Clearout integration and grant the necessary scopes (view/edit tags, view/edit contacts, view/edit custom fields).
- To get the Location ID, go to Settings -> Business Profile-> Location ID.
Once you fed the Key details in Clearout click on the "Add Account" button.

2. Add the email lists
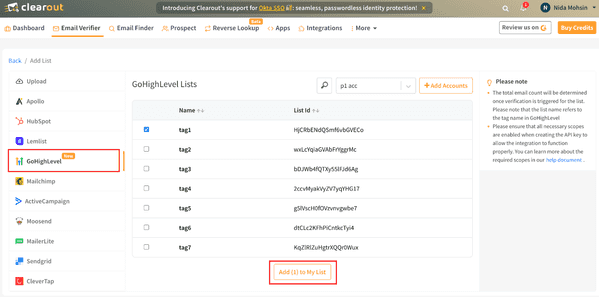
Once your GHL account is connected, Clearout will automatically display your tagged contact lists from GHL. To prepare contacts for verification, start by creating tags in GHL to group specific contacts. These tagged contact lists will then appear in Clearout, allowing you to select one or more for verification. This organized tagging system makes it easy to manage and verify only the contacts you need, directly from your GHL account.

3. Verify the email address list
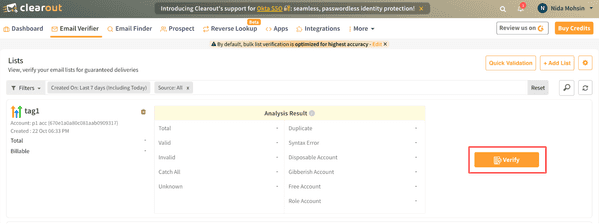
Once the selected tagged list is successfully added, click on the "Verify" to start validating the added list.

4. Export the verified results
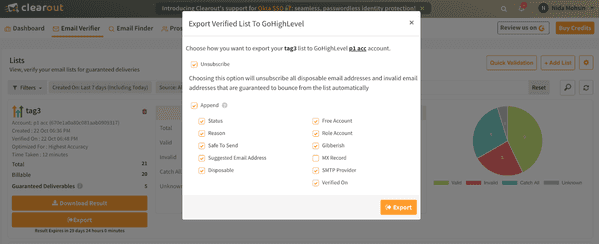
Once the validation is completed, the user can choose how to export the verified list to GHL account. The user can export the result by choosing to unsubscribe or append else by selecting both.
Unsubscribe: On selecting this option, The non-deliverable email addresses will be automatically un-tagged from the Tag list and will not be part of the verified list for the campaigns.
Append: On selecting this option, User can export the result along the selected appended fields back to GHL account.

Frequently Asked Questions
- Go to Settings inside the sub-account, navigate to Other Settings → Private Integrations, and click on Create New Integration button to generate the integration token.
- For the Location ID, go to Settings → Business Profile.
- View/Edit Tags
- View/Edit Contacts
- View/Edit Custom Fields
- You can choose to Unsubscribe non-deliverable email addresses, Append verified emails back to GHL, or both.
- Unsubscribing will automatically un-tag invalid emails, while appending will add the results back with Clearout fields.